


How to Create Fake Sunset/Sunrise Light
How to Create Fake Sunset/Sunrise Light
What do you do when you expected great sunlight for your portrait session, and it is overcast? I will show you.


Hi, I am Charlie Borland and welcome to my All About Photography newsletter. I have been a pro photographer for over 40 years and have a lot to share with you. Please join the photo adventure by subscribing to this reader-supported newsletter.
How to Create Fake Sunset Light
I was once on assignment to photograph an elderly couple playing golf in the morning. This couple were residents of an upscale golf community and regular golfers on the course. I was photographing an advertisement that would run locally in various publications and on the web as well.
I arrived an hour early as I usually do, to make sure everything I could think of was in order and we would be ready. Everything was in order, EXCEPT, the weather! The forecast was supposed to be sunny, but if you are a location photographer, you know the forecast can be wrong as much as it can be right.
Like most assignments I have done, one glitch can send me into panic mode. I already know that success in photography requires you to be ready for any and all things that might interrupt your photo shoot.
I immediately planned to employ a backup plan and it's called Creating Fake Sunset/Sunrise Light.
Fake sunset light uses a flash to simulate the warm, golden light of a sunset or sunrise when natural sunlight is not available. I have found it to be a great solution when photographing people outdoors when there is no direct sun, such as an overcast day.
Subscribe and get these tutorials delivered to your Inbox.
Equipment
You do not need a lot of photo equipment but will need a flash unit, which can be any Speedlight or other off-camera flash unit and has a reasonable amount of flash output power.

To create a warm-colored light that mimics golden sunlight, you will need a warm-colored gel or filter. Specifically, the orange or amber color gel will mimic the warm sunset color and I recommend a Roscoe 3201 Full CTO (CTO = Color temp orange). This particular filter is the color temperature that converts daylight to amber-colored Tungsten light.
I will mention that many flash manufacturers like Nikon may include this specific filter in a Snap-On format when you buy a new flash.

Triggers
Since your flash will NOT be in the hot shoe on your camera, most likely, you will need a light stand to place it off to the side of the camera. It is much better to have the flash away from the camera so it creates its own shadows and highlights and will look more natural for the sun light effect.

The next tool will be a method to trigger the flash to fire when not on camera. This could be the built-in wireless technology between your flash and camera if you have that option. Otherwise, you will need a third-party trigger that attaches to the camera and flashes to make it fire when you press the shutter. Here is a budget-friendly wireless trigger that I have a bunch of. Triggers.
If you are enjoying this post, please share it.
Power Level
Next, position the flash to mimic the direction of the sunrise or sunset. Usually, this means setting the light at an angle and pointing it toward your subject. The angle and direction are crucial in creating a realistic lighting effect.

The higher the output level, the further the flash goes.
Then set the flashes output level and test for accuracy. Start with a lower power setting and adjust accordingly. Remember, the late or early light is often not very intense, and a lower power setting can help simulate the soft glow of the sun.
You can adjust the power higher if you're looking for a more dramatic effect or if the ambient light is competing with your flash and this is how I work. Flash output light should be slightly brighter than the ambient light so the warm light is dominant and has a strong effect on the subject, just like sunset or sunrise.
White Balance
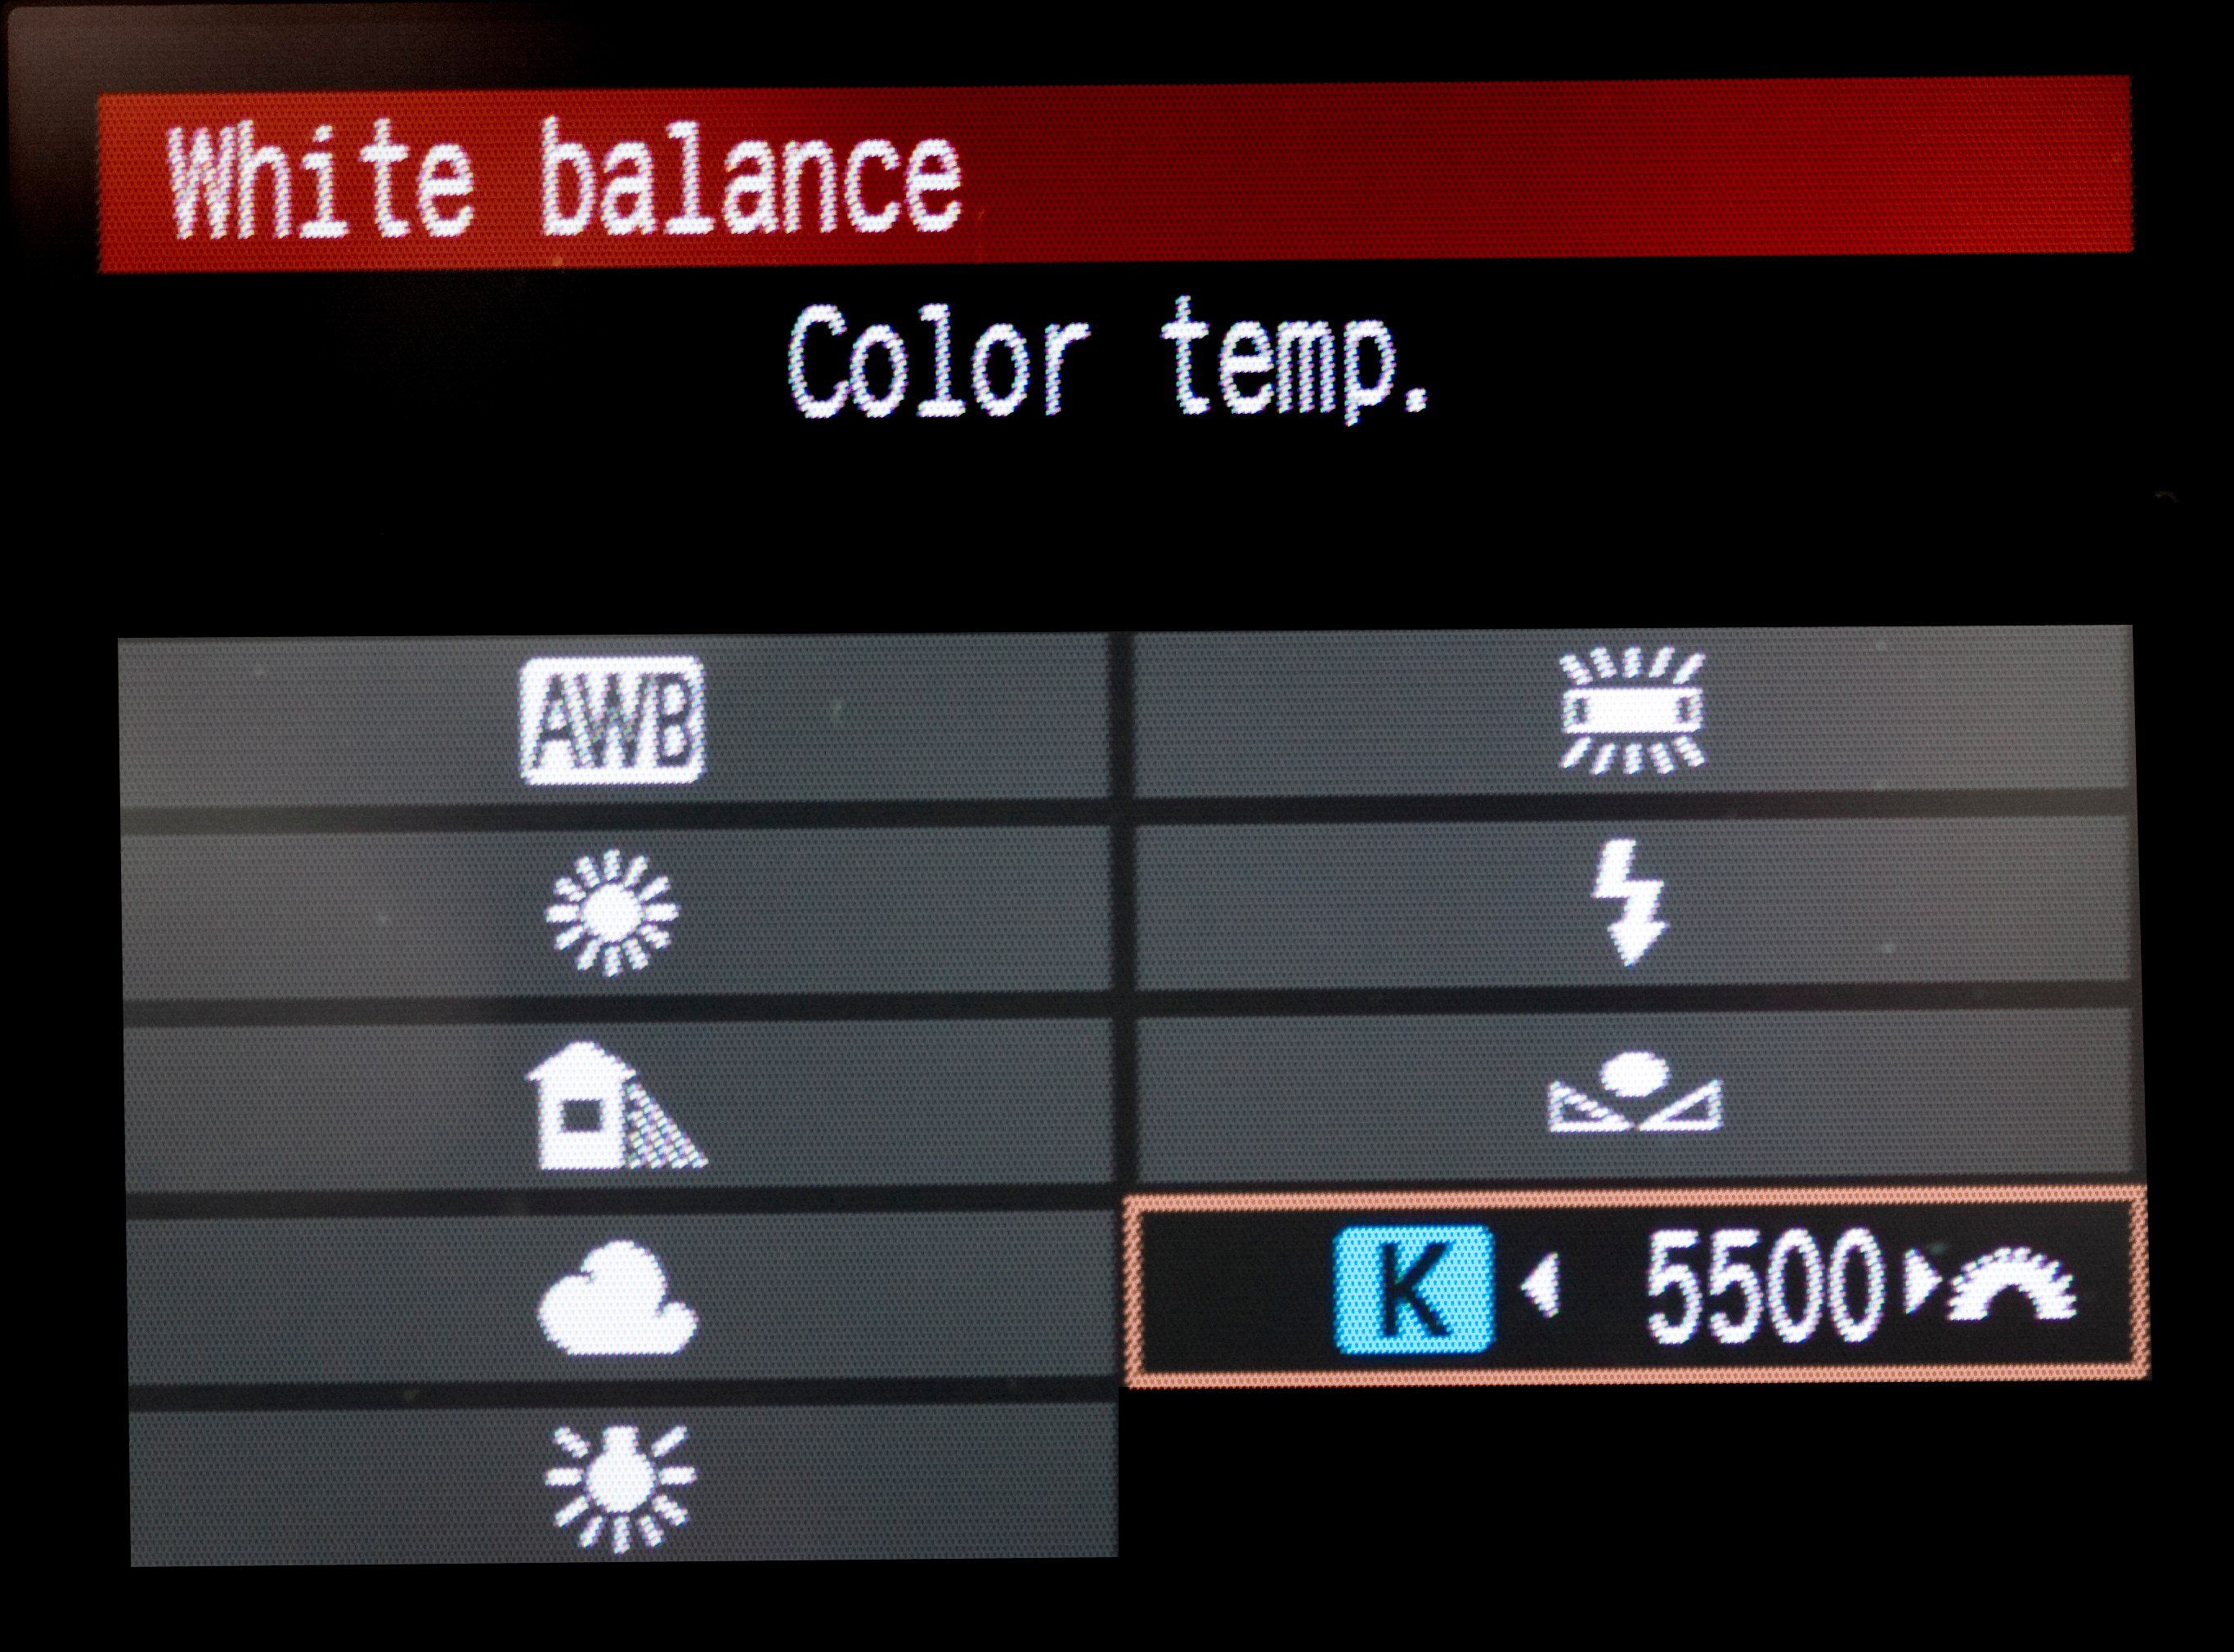
White Balance is very important and you want to adjust your camera's white balance to enhance the warm tones. Setting the white balance to "Shade" or "Cloudy" can amplify the warm effect of the orange gel, making the light appear more like sunset light. But if the amber/orange effect is too strong, switch to daylight WB for a lighter amber color.
Shooting Mode

Your shooting mode is also important and I recommend manual mode to have full control over your exposure settings. You might need to adjust the aperture, shutter speed, and ISO to balance the flash with any ambient light and that is expected.
A slower shutter speed can allow more ambient light to fill in the scene, especially if you’re working with limited natural light, but go with your meter reading. Also, be careful not to go too slow if your subject is moving. I always start with ISO 100 but will increase it in situations like this if the shutter speed is too slow.
Next, take a few test shots to adjust the position of the flash, its power level, and your camera settings. Pay attention to how the light falls on your subject and adjust the angle and distance of your flash as needed to achieve the desired effect.
Subscribe and get these tutorials delivered to your Inbox.
The Golf Photo

This photo worked perfectly for the client and here was my strategy. As I mentioned, it was an overcast morning and the light was totally flat. I placed my flash with gel on the right side and about 30’ from them. I tested first for the flash and set an aperture of f/8.
My shutter speed was 1/180 as the meter suggested, but I reset it to 1/200, my max sync speed with flash. The reason was I wanted the background slightly darker so they stood out more from the flashes light. Then I zoomed in on them at 120mm and framed them tightly. By zooming tightly, there is little background showing.
This is important! Why? There is no sunlight in the background and a wider view would make that obvious. So in this case, I needed to fill the frame with them as much as possible.
The Clothing Catalog
I was on a 5-day shoot with 4 models, a stylist, and a client and we were staying and shooting at a guest ranch in the mountains. It was late in the day when we were photographing the models hiking around the pasture, sitting on the fence, and more.
Then we ran outta time!
By the time we got to the fence photos, the sun had set. So I needed to use the same fake sunlight technique. My assistant then set up the flash, which was a powerful Norman 400B, added the warming gel, and positioned it for testing.

This fake light technique was perfect in this situation and saved my tail with the client. Plus, look at the blue sky background. Here there is no need to worry about the background where no fake light is hitting it. Looking through the fence, the background there is very dark due to my underexposing the ambient light to create a rich blue sky. The result was perfect in mimicking sunset-type light.
Creating a fake sunset effect requires experimentation and adjustment based on your specific shooting conditions and desired outcome. With practice, you'll be able to create stunning sunset-like images even when the real sun isn't cooperating.
Keep shooting!
If you are enjoying this post, please share it.
I hope you enjoyed this and if you have thoughts, ideas, or questions, please leave a comment below.
Thanks for reading. New Photography School is a huge commitment to produce so please join as a subscriber or patron, or take one of my streaming photography courses listed below. Your support would be greatly appreciated!
Support this Channel: Take a Photography Class

Online courses on Architecture and Real Estate Photography, Landscape & Nature, Professional Commercial Photography, Professional Nature Photography, Wireless Flash, and more. They start as cheap as $9.99.
Click HERE


