


Creating a Porcelain Skin Effect on a Portrait
Creating a Porcelain Skin Effect on a Portrait
Some great techniques can be created in the studio and others are better in the darkroom.

Hi, I am Charlie Borland and welcome to my All About Photography newsletter. I have been a pro photographer for over 40 years and have a lot to share with you. Please join the photo adventure by subscribing to this reader-supported newsletter.
Creating a Porcelain Skin Effect on a Portrait
Portrait photography is a very popular niche for many photographers and if you enjoy working with clients and have a passion for capturing people's beauty, you may be able to build a successful business making people look fabulous.
If you have a portrait business, you understand that managing your business is priority number one. A business is not successful without customers buying your product and one key point in the business is to offer a variety of different portrait 'products.'
This could be families, children, beauty, boudoir, and more but also a standard portrait with a different looks. That is key!
If, for example, a young lady inquired about getting a beauty style portrait that looked different. What could 'different' mean? Well, that's the million dollar question that can only be answered with a client consultation on what exactly they may want.
While I have provided a variety of looks to clients in the past, one that I get a request for from time to time is the Porcelain Skin look and that is what I will demonstrate today.
Porcelain
The term Porcelain is usually considered a surface that is smooth, maybe shiny, and definitely white and that means creating a skin tone that appears white and bright. However, an online search will show that photographic terms are often interpreted far and wide of what the term used might seem.
You can create a porcelain skin effect while photographing and applying light that creates that look, or you can do something in post-processing, and that is what I will show here.
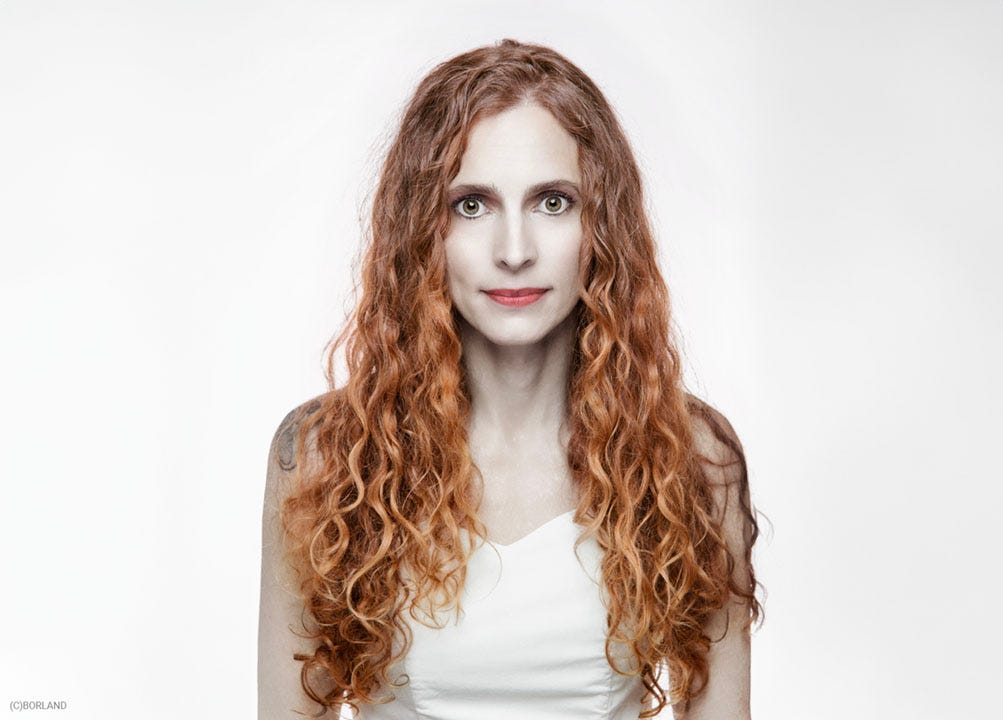
The Model and Lighting
I asked my friend Kim to come to the studio and model for me and we did quite a few different looks and backgrounds, including a beauty style look.

I set up two lights, one as the key (brighter) above camera and the other a smaller beauty dish that acts as a fill light and brightens shadows under the chin, etc. The look of the model is what I want to achieve but will point out that other lights modifiers will work for this lowest contrast look. Two small light boxes or two shoot through umbrellas, two beauty dishes, etc.
The shoot through umbrella seen here or whatever the key light is, is then adjusted for an f/11 output level. My favorite f/stop for these types of setups with a white background. Once the exposure looks good and is set on the key light, I turn on the fill light, which is the beauty dish seen here, and adjust power to -1 stop lower the key light. I usually do this visually and just watch the shadows under the chin while adjust light output to my taste after each test photo.
The two background lights are to make sure the white background stays white instead of grey, so I start by setting the output at +1.3 stops brighter than the key light the subject. That means the backgrounds lights combine would output 1.3 stops, or equivalent of f/16.3 more light to ensure it is very white behind the model.
If you are enjoying this post, please share it.
Photography
I photographed a lot of different images with different angles, different hands poses, smiles with and without, and more. And here are some examples before processing.
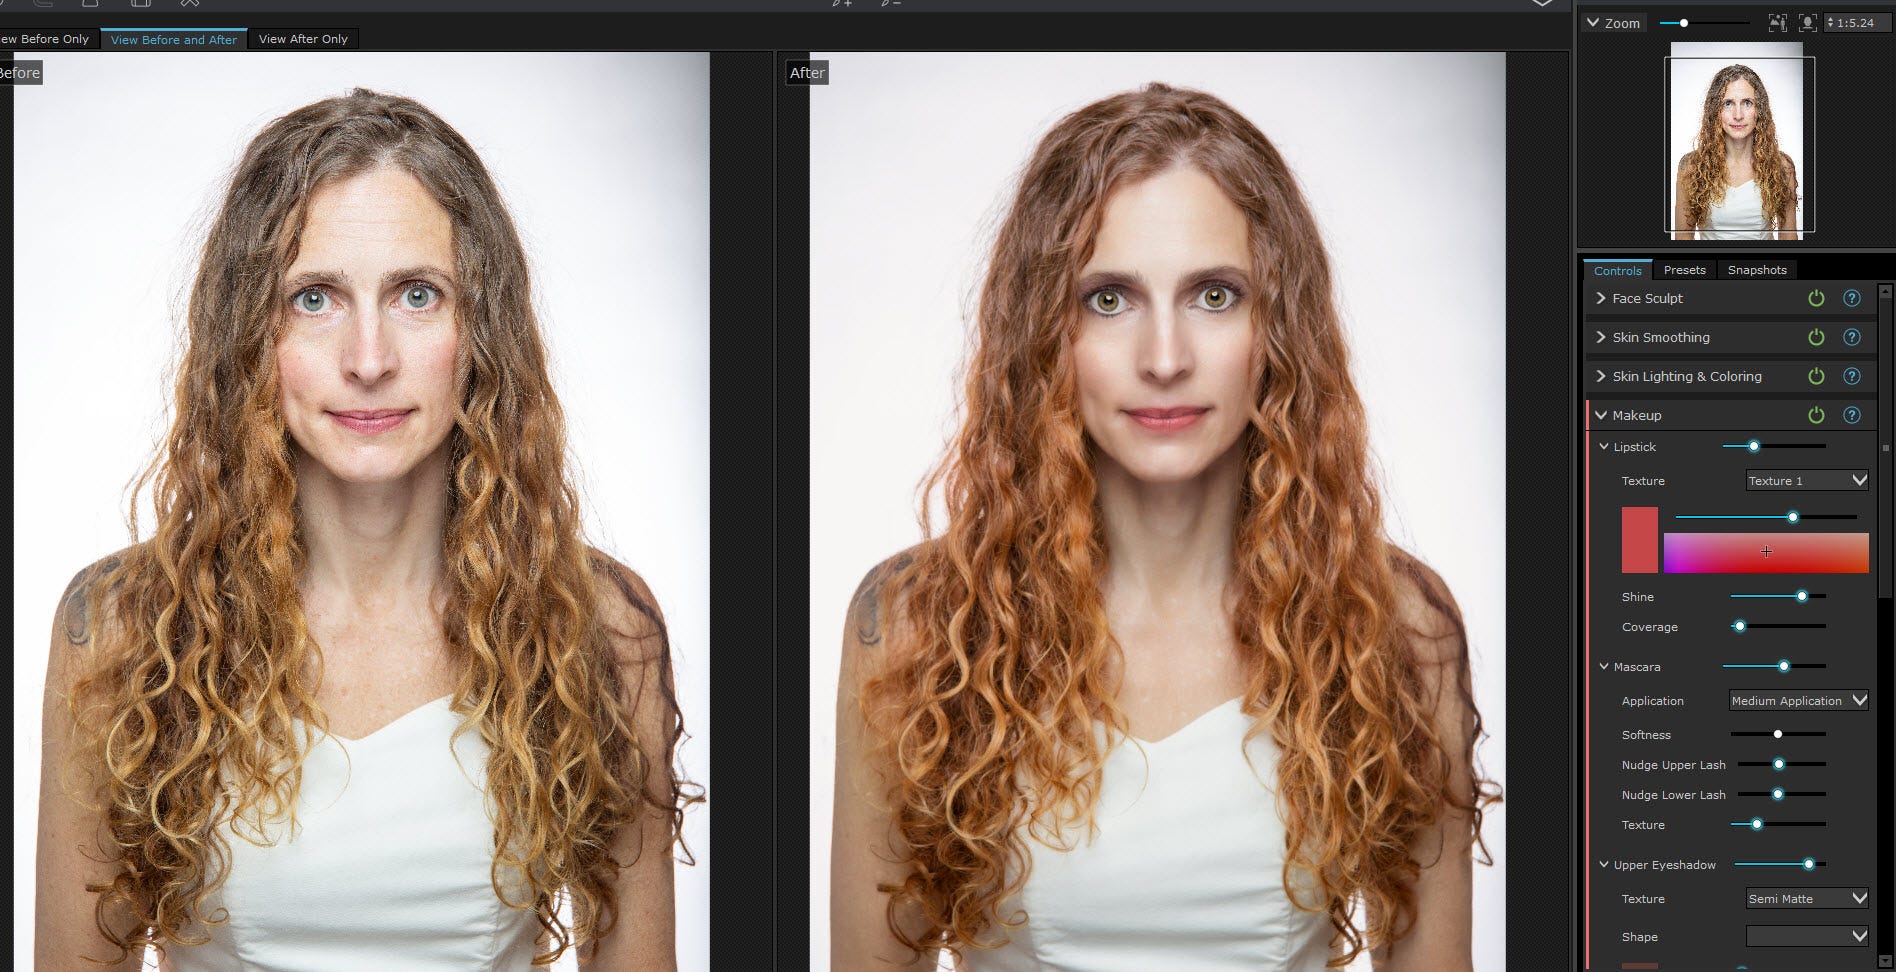
Portrait Pro
I next opened the images I planned to process in Portrait Pro, and amazing program for retouching portraits. I use this because is vastly faster than the tool in Photoshop. Here, you can see the before on the left and the finished image on the right. I used the skin softening feature, added shine to her hair, and brightened her eyes and eye makeup.
The Porcelain Skin Effect

This image is the final of many finals as I tried to decide just what effect I liked best before presenting to the model. I will show you what you can achieve with different sliders and how I decided what was too much and what was too little.

To achieve this look, start by opening the raw file and processing as you would and then, if you do any face retouching go ahead and do that next. As I mentioned, I got this look through Portrait Professional.

Next, click the new adjustment layer icon (bottom) and add a hue/saturation layer (middle) and slide the saturation slider (top) to the left to desaturate the image

Then click on the Brush Tool and set black as the foreground color and then click on the mask for the Hue/Saturation layer. With the brush set to 35% opacity, carefully brush over the hair to remove the desaturation and bring back her red hair.
Note: This demo is a quick way to do the hair because using Photoshop to mask the hair laying on her arms would be really challenging and time consuming. And it would have been better to have her wear grey so the hair contrasted making selection easier, then later change the color of her top white.
Subscribe and get these tutorials delivered to your Inbox.

After the hair and using the brush tool, set black as the foreground color, and brush in the eyes and mouth to bring back their color. Now we have a black and white skin photo with colored hair, eyes, and mouth. It looks a little weird so now we juggle sliders to find a more striking balance.

The first slider I moved was the opacity of the Hue/saturation slider which reduced the B&W skin tone to bring back a very faint warm tone of the skin and it certainly looks more natural. I could stop here, but I like to experiment.

Feeling as though the previous image was too grey on the skin tone, I added (bottom)a Curves Adjustment Layer (middle) and lifted the curve to push her skin tone a little closer to white. I like it, but…..the hair lightened as well.

To return the hair to normal brightness, I click on the Hue/Saturation mask (bottom) and while holding down the Alt/Opt key, I drag that lower mask over the upper mask and it will replace the empty mask with the mask that protected her hair.

Then looking at her arms, which were not as bleached looking as her face, I decided to add a white vignette on a new layer to grey it out some. I followed by lowering the opacity of that new layer to weaken its effect.

The last step is fine tuning the tones by adjusting the opacity of the Hue/Saturation layer specifically. Here, the opacity is set to 1`00% and she is very B&W.

By Lowering the opacity to 50% there is a better blend of color and B&W creating a more natural look with slight warmth in the skin tone while also have skin close to bleached white.
By lowering the layer opacity to 50% there is a better blend of color and B&W creating a more natural look with slight warmth in the skin tone while also have skin close to bleached white.

Finally, I selected the Curves layer and changed the blend mode to Soft Light and that added a hint of conytrast that adds punch.
That's it for this tutorial. I hope you enjoyed it and learned something.
If you have questions, please post them and we will have a conversation.
There you go.
If you are enjoying this post, please share it.
Support this Channel: Take a Photography Class

Online courses on Architecture and Real Estate Photography, Landscape & Nature, Professional Commercial Photography, Professional Nature Photography, Wireless Flash, and more. They start as cheap as $9.99.
Click HERE


